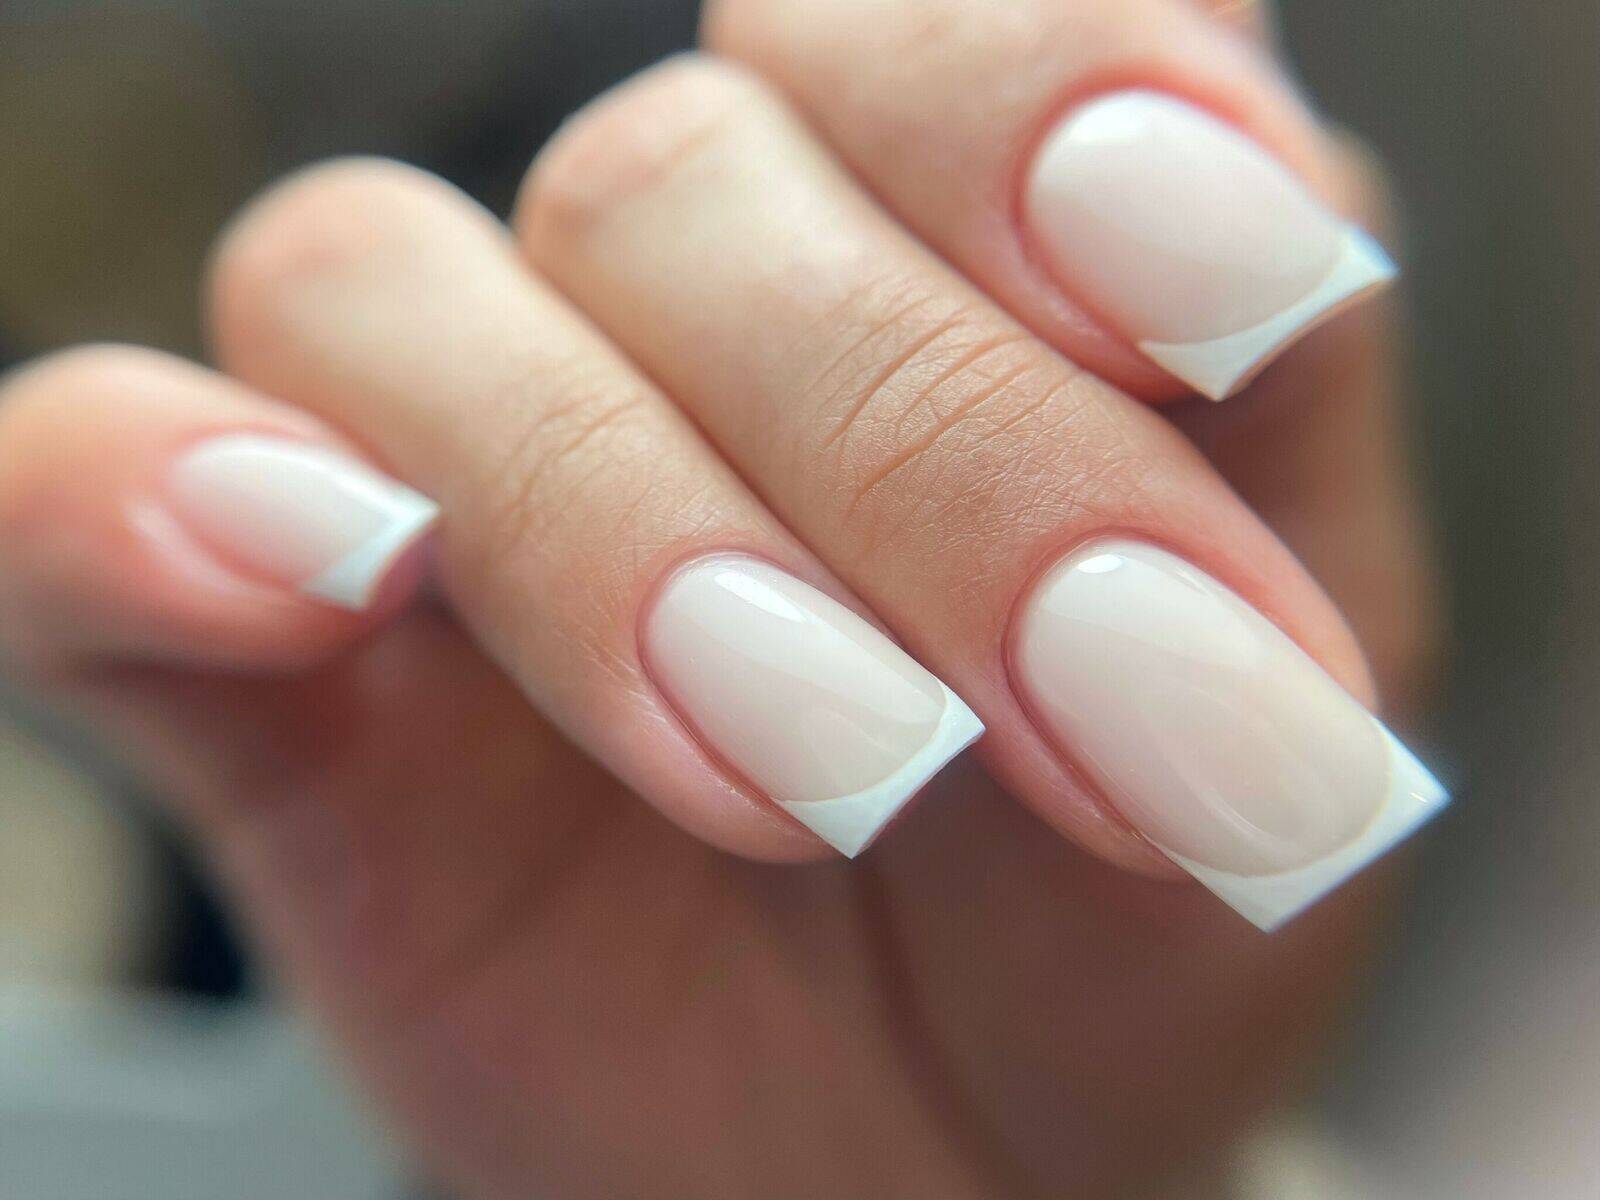
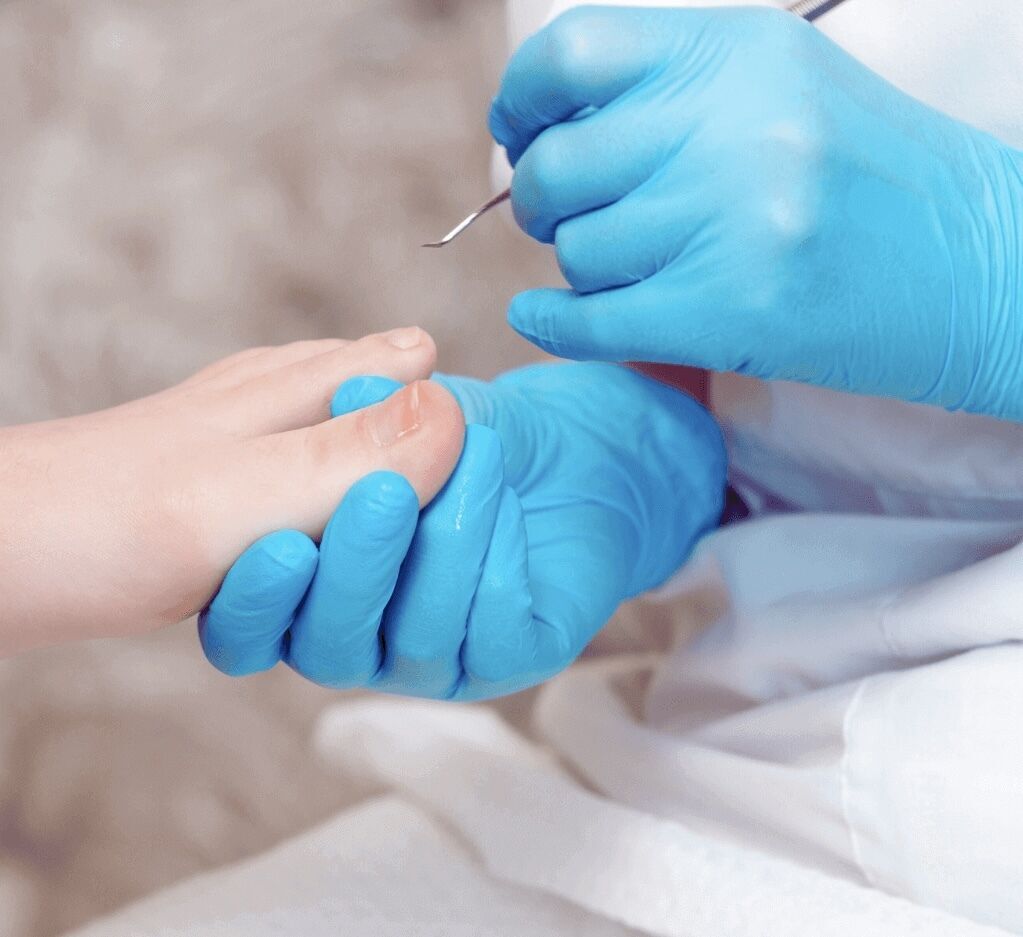
Medical Pedicure👣
I treat nail problems such as:
•Onycholysis
•Onychomycosis
•Fungal nail
•Verruca
•Foot corn
•Ingrown nail
•Cracked hells
I treat nail problems such as:
•Onycholysis
•Onychomycosis
•Fungal nail
•Verruca
•Foot corn
•Ingrown nail
•Cracked hells
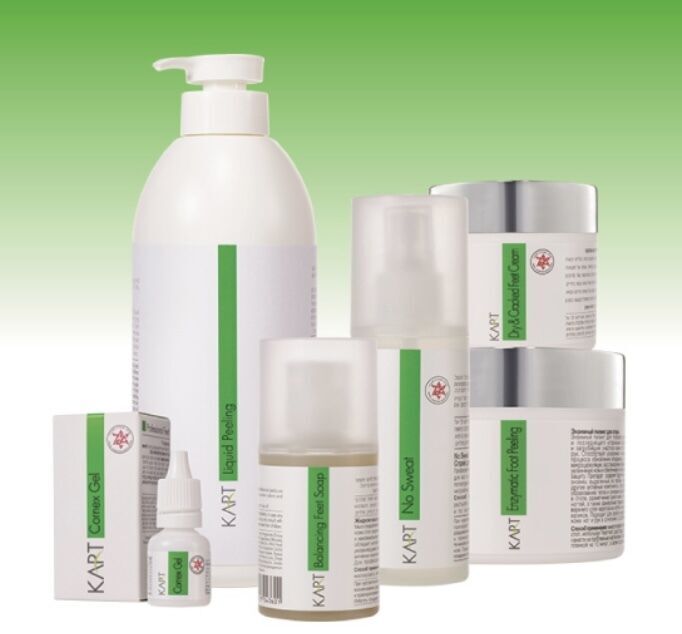
A KART Pedicure is a medical, atraumatic foot treatment that uses fruit acids, enzymes, and natural active ingredients to soften, exfoliate, and remove dead skin cells and calluses without soaking or blades, deeply conditioning the skin and treating issues like cracked heels, dryness, and fungal infections. The KART system is designed to work with the skin's natural regenerative processes, promoting antibacterial protection and restoring the skin's health and elasticity for smoother, softer feet. Â
How it works
1.
Cleansing and Skin Preparation:Â
The treatment begins with a specialized KART cleansing soap to prepare the skin and enhance the absorption of active ingredients.Â
2.
Peeling and Exfoliation:Â
A unique peeling solution containing fruit acids, enzymes, and papaya is applied to dissolve dead skin cells and soften calluses.Â
3.
Targeted Remover:Â
A specialized KART remover is precisely applied to affected areas, which are then wrapped with cotton pads and plastic to allow the solution to work for 15-20 minutes.Â
4.
Removal of Dead Skin:Â
After the softening period, the dead skin is gently removed using a special instrument.Â
5.
Smoothing and Conditioning:Â
The skin is then smoothed with caps to ensure a soft finish.Â
Key benefits
•
Atraumatic treatment:Â
No foot soaking or cutting tools are required, making the experience safe and comfortable.Â
•
Deep Skin Restoration:Â
Products deeply penetrate the skin, moisturizing and nourishing it and restoring its natural functions.Â
•
Treatment of Specific Conditions:Â
Effectively addresses cracked heels, dry skin, fungal infections, and foot odor.Â
•
Antibacterial Properties:Â
The products contain ingredients that provide strong antibacterial protection, helping to prevent infections.Â
•
Promotes Skin Regeneration:Â
The treatment stimulates the skin's regenerative processes, improving texture and elasticity.Â
A Russian manicure is a dry, precision nail technique that uses an electronic file (e-file) to achieve a flawless, clean finish by meticulously removing excess cuticle skin and exfoliating the nail bed. Unlike traditional manicures, it avoids water soaking, resulting in a polished, long-lasting manicure where the polish can be applied closer to the cuticle for a more refined and elegant look.Â
Â
Here's a step-by-step breakdown of a Russian manicure:Â
•
Cuticle Cleaning and Exfoliation:
An e-file with a specific bit (often a teardrop-shaped bit) is used to gently push back the cuticle and separate it from the nail plate.Â
The drill's bits are then used to carefully remove all excess, dry skin from the cuticle area and nail plate, working at a slight angle to avoid touching the nail itself.Â
This process exposes the entire nail bed for polish.Â
•
Nail Surface Preparation:
The nail surface is lightly buffed to ensure proper product adhesion for the polish.Â
The technician may use alcohol to clean the nails and remove any dust.Â
•
Nail Polish Application:
A nail dehydrator and primer are applied to the nail.Â
A base coat is then applied and cured under a UV lamp.Â
Builder gel is applied in layers, working to create a smooth, even surface and an "apex" or high point on the nail. Each layer is cured under the lamp.Â
The color polish is then applied in two thin layers, with each layer cured under the lamp.Â
A top coat is applied and cured, ensuring the edges are capped to prevent the polish from running onto the cuticles.Â
•
Finishing Touches:
The sticky layer from the top coat is wiped off with alcohol.Â
Cuticle oil is applied to rehydrate the skin around the nail.Â
The process concludes with the final removal of any excess skin, resulting in a pristine, long-lasting manicure.